
Road markings in the K53 learners test
By The PassPath Team · Updated
Road markings regulate, control and warn by defining the limits of the carriageway and the traffic lanes and by directing traffic in a particular direction. As with regulatory signs, it is an offence to disregard a regulatory road marking. A stop line and a yield line have their full effect even where no sign is posted: where there is no stop sign at all, the stop line on its own means what a stop sign means. Road signs and markings are 28 of the 64 questions in the K53 learners test and you may get five of them wrong.
Every drawing here was made for PassPath from the prescribed design and is named from the manual’s own legend. Sources last re-checked on . For Code 2 (car) learners. Motorbike (Code 1) and heavy vehicle (Code 3) aren't covered yet.
This page shows 26 drawings of road markings. We have not read a published total for this group, so we do not state one. Which of them the test draws from is not published, and we do not claim this is the examinable set.
Working through the pictures is worth more once you have tried the questions. Every sign below is one you can meet in the free K53 practice test.
Regulatory road markings: stop lines, yield lines and pedestrian crossings (RTM1-RTM4)
Regulatory road markings (Manual Part 2, Sec 7.1, pp.49-50) carry the force of a regulatory sign painted directly on the road. Sec 1's general classification table (p.3) states this plainly: 'as in the case of regulatory signs, it is an offence to disregard regulatory markings.'
- Stop line (RTM1): at intersections and pedestrian crossings; stop with the front of your vehicle behind it. Where there's no stop sign at all, the stop line on its own carries the same meaning as a stop sign. - Yield line (RTM2): at intersections; give way to anyone crossing or wanting to cross your path at that point, even where there is no yield sign posted. - Pedestrian crossing lines (RTM3) and block pedestrian crossing (RTM4): especially near intersections and schools; give priority to pedestrians crossing or wanting to cross by slowing or stopping.
- A stop line (RTM1) or yield line (RTM2) has full legal effect even where there is no stop or yield sign posted.
- Manual p.3: 'as in the case of regulatory signs, it is an offence to disregard regulatory markings', the exact source for QC18's 'disregarding a regulatory marking is an offence' requirement.

Stop line markingRTM1RTM1 Stop line marking. one view of dark grey road surface with green ground along the left side, with a mark in white, high on the road surface, toward the left. A mirrored version of this sign exists with the mark on the other side. Easy to get wrong. A stop line calls for a complete stop, the same as a stop sign. It does not become a yield when the sign is missing.

Yield line markingRTM2RTM2 Yield line marking. one view of dark grey road surface with green ground along the left side, with a mark in white, toward the left of the road surface. A mirrored version of this sign exists with the mark on the other side. Easy to get wrong. The yield line applies on its own. Even where there is no yield sign, you still have to give way.
Pedestrian crossing lines markingRTM3RTM3 Pedestrian crossing lines marking. one view of dark grey road surface with green ground along the left side, with a mark in white, toward the left of the road surface. A mirrored version of this sign exists with the mark on the other side. 
Block pedestrian crossing markingRTM4RTM4 Block pedestrian crossing marking. One view of dark grey road surface with green ground along the left side. 10 separate marks in white over about a quarter of the road surface, set to the right of centre.
Source: Manual Part 2, Sec 1 (Signs in General, p.3) and Sec 7.1 (Regulatory Markings, pp.49-50).
Regulatory road markings: overtaking, crossing, channelizing and edge lines (RM1-RM5)
The rest of Sec 7.1 (Manual Part 2, pp.49-50) is the line markings that decide which part of the road the vehicle may occupy.
- No overtaking lines (RM1): on two-way roads; you may not drive with any part of your vehicle on the right-hand side of the line, except to enter or leave a direct roadside access point, or to pass a stationary obstruction, and only when it's safe to do so. - No crossing lines (RM2): on two-way roads; you may never drive on the right of, or cross, this line with any part of your vehicle, except to go around a stationary vehicle or obstruction. - Channelizing line (RM3): on carriageways and at intersections where traffic moves in the same direction; no part of your vehicle may cross it. - Left-edge line (RM4.1) and right-edge line (RM4.2): mark the edge of the road. You should avoid driving to the left of the left-edge line, but may do so while being overtaken, if it's safe for you and others, in daylight, and if people/vehicles on the road are visible from at least 150 m away: it's not compulsory to move left just because you're being overtaken. If your vehicle breaks down, stop as far left of the line as you safely can and switch on your emergency lights. The right-edge line usually marks a one-way road such as a dual carriageway or freeway, and may not be crossed. - Painted island (RM5): on any road; you may not stop, park or drive over it, unless a traffic or police officer orders you to, or to avoid a collision or in an emergency.
- The left-edge line (RM4.1) may only be crossed while being overtaken, safely, in daylight, with 150 m visibility: crossing it is never compulsory even when being overtaken.
- No overtaking lines (RM1) and no crossing lines (RM2) differ: RM1 permits crossing only to access/leave a direct entrance or pass a stationary obstruction; RM2 forbids crossing except to go around a stationary vehicle or obstruction.

No overtaking markingRM1RM1 No overtaking marking. One view of dark grey road surface. 3 separate marks in white and black over about a tenth of the road surface. 
No crossing markingRM2RM2 No crossing marking. One view of dark grey road surface with white ground all round it. 5 separate marks in black over about a seventieth of the road surface. 
Channelizing line markingRM3RM3 Channelizing line marking. one view of dark grey road surface, with a mark in white and black. 
Left edge line markingRM4.1RM4.1 Left edge line marking. one view of dark grey road surface with green ground along the left side, with a mark in yellow, toward the left of the road surface. A mirrored version of this sign exists with the mark on the other side. 
Right edge line markingRM4.2RM4.2 Right edge line marking. one view of dark grey road surface with green ground along the right side, with a mark in white, toward the right of the road surface. A mirrored version of this sign exists with the mark on the other side.
Source: Manual Part 2, Sec 1 (Signs in General, p.3) and Sec 7.1 (Regulatory Markings, pp.49-50).
Regulatory road markings: parking, lane control and traffic circles (Sec 7.1, part 2)
The remaining regulatory road markings (Manual Part 2, Sec 7.1, pp.50-53) cover parking, lane control at junctions, and traffic circles.
- Parking bay (RM6): your vehicle must be parked entirely inside the marked lines; for angle parking, park as close to the road as possible with the front no more than 150 mm from the kerb, and no part of the vehicle on or over the sidewalk. - Exclusive parking bay (RM7): reserved by a letter code for a specific group: A ambulance, B bus, L loading zone, T taxi, F fire-fighting, R rickshaw, CD diplomatic, MB minibus, SOS SOS phone, D defence force, P SAPS. If you're not part of the identified group you may not park there, except at an SOS-phone bay in a genuine emergency; only goods vehicles may stop or park in a marked loading zone. - Mandatory direction arrows (RM8): before an intersection; you may only proceed in your lane's arrowed direction. Choose your lane in good time, check that others are obeying their own lane's arrow, and check your blind spot before turning right in case a driver in the next lane (under a right-turn arrow) is going straight instead. - Bus lane marking (RM9): reserves part of an urban carriageway for buses during the times shown on the sign; don't drive in it during those times unless you're driving a bus. - Box junction (RM10): at intersections; don't stop inside the marked box, and only enter it once you can see you'll be able to clear the intersection, so you don't block other traffic trying to turn or drive further forward. - Pedestrian crossing ahead lines (RM11): before a pedestrian crossing; you may not stop in this area except for pedestrians crossing or wanting to cross, or where a vehicle ahead has already stopped for that reason, and you may not overtake inside this area or overtake a vehicle stopped at the crossing. - No stopping lines (RM12): you may not stop here except in an emergency; where the line is broken, stopping is only barred during the times shown on an accompanying sign. - No parking line (RM13): you may stop briefly (e.g. loading/offloading) but may not park; 'parking' means the vehicle stands still, engine running or not, for longer than needed to load or offload goods or passengers. - Bicycle lane lines (RM14): mark the limits of a lane reserved for cyclists; don't drive in the demarcated area. - Traffic circle mandatory directional arrows (RM15): at traffic circles and mini-circles; drive only in the arrowed direction, yield to traffic already on the circle from your right, and at a mini-circle yield to whichever vehicle reaches its own yield line first; drive slowly enough to stop if another driver doesn't yield.
- RM13 (no parking) allows a brief stop to load/offload; RM12 (no stopping) allows no stop at all except an emergency: the two are commonly confused.
- RM7 (exclusive parking bay) reserves a bay by letter code (A ambulance, B bus, L loading zone, T taxi, F fire-fighting, R rickshaw, CD diplomatic, MB minibus, SOS SOS phone, D defence force, P SAPS).
- RM10 (box junction): only enter once you can see you'll clear the intersection, so you never block other traffic inside the marked box.
- RM15 (traffic circle arrows): at a mini-circle, yield to whichever vehicle reaches its own yield line first, not simply to the right as at a full traffic circle.

Exclusive parking bay markingRM7RM7 Exclusive parking bay marking. one view of dark grey road surface with green ground along the left side, with a mark in yellow and black, toward the left of the road surface. A mirrored version of this sign exists with the mark on the other side. 
Mandatory direction arrow markingRM8RM8 Mandatory direction arrow marking. one view of dark grey road surface, with a mark in yellow, toward the right of the road surface. A mirrored version of this sign exists with the mark on the other side. 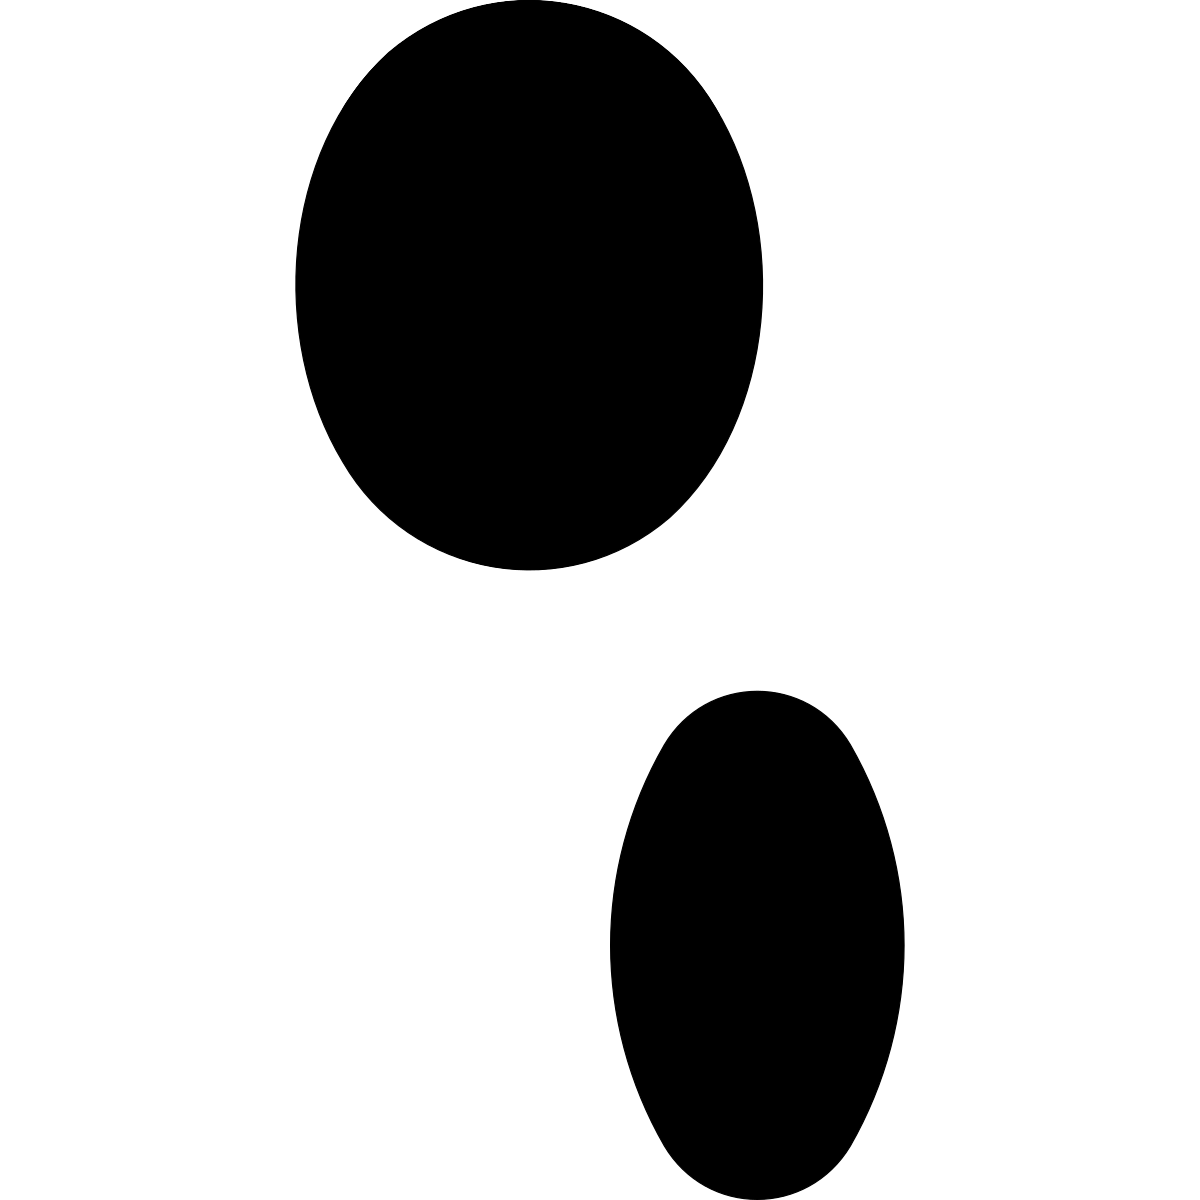
Exclusive lane line markingRM9RM9 Exclusive lane line marking. two views of dark grey road surface, with a mark in yellow and white, high on the road surface, toward the left. A mirrored version of this sign exists with the mark on the other side. Easy to get wrong. The lane is kept for buses only during the times shown on the sign, not at all times.

Box junction markingRM10RM10 Box junction marking. one view of dark grey road surface with green ground along the left side, with a mark in yellow, white and black, toward the left of the road surface. A mirrored version of this sign exists with the mark on the other side. 
Zig-zag zone markingRM11RM11 Zig-zag zone marking. one view of dark grey road surface with green ground along the left side, with a mark in white, high on the road surface, toward the left. A mirrored version of this sign exists with the mark on the other side. Easy to get wrong. RTM3/RTM4 mark the crossing itself and its priority-to-pedestrians rule; RM11 adds its own separate no-stopping/no-overtaking approach-zone rule.
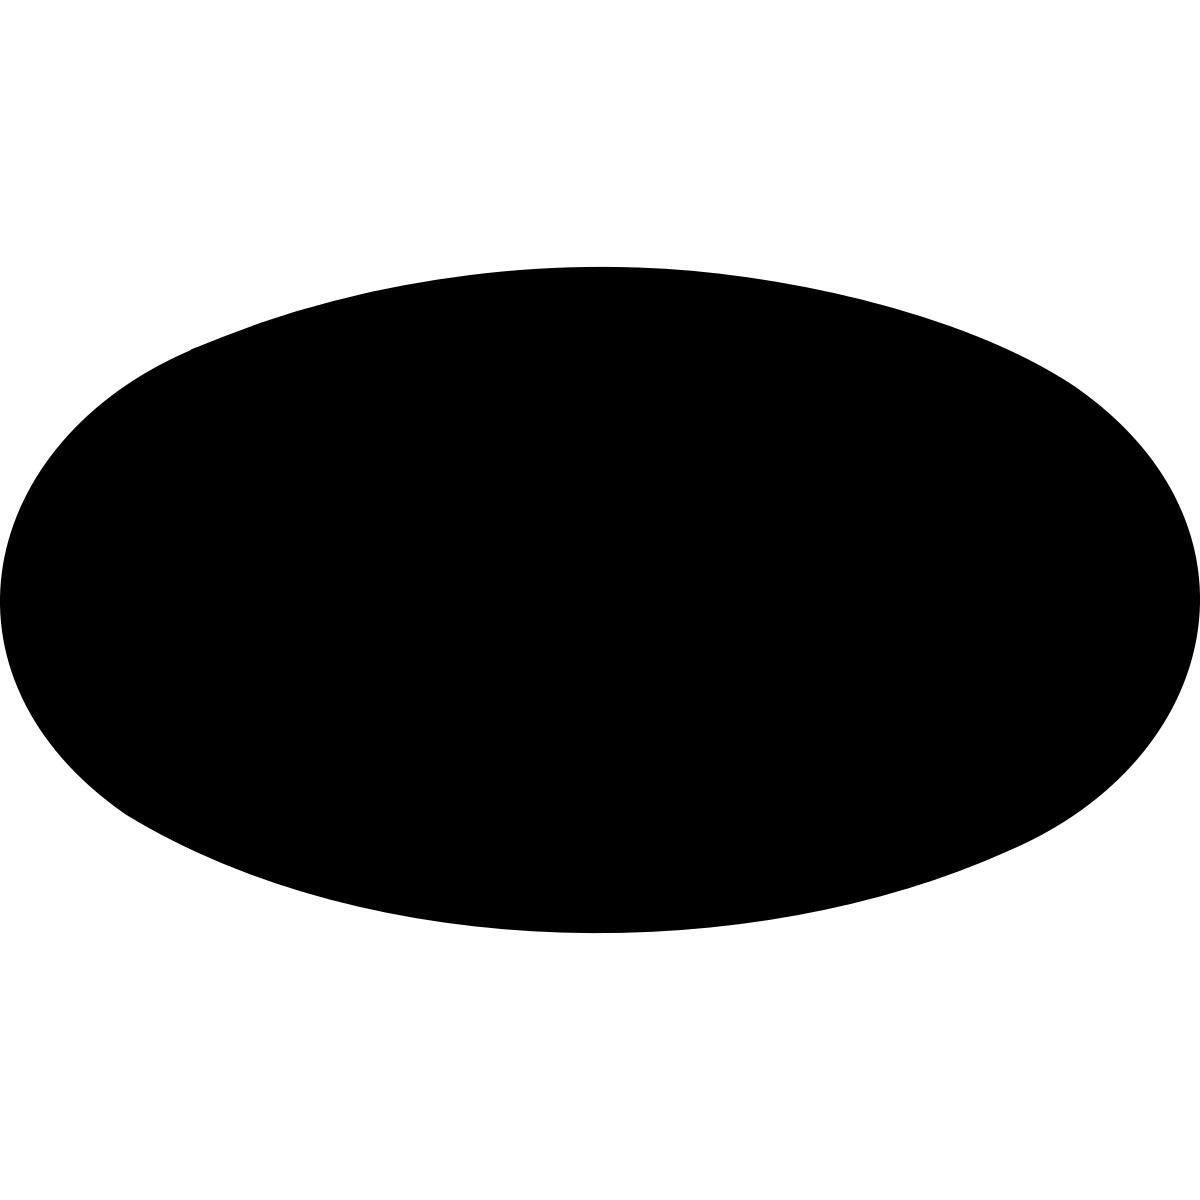
No motor cycles markingRM14RM14 No motor cycles marking. one view of dark grey road surface, with a mark in yellow, toward the right of the road surface. A mirrored version of this sign exists with the mark on the other side. 
Mini-circle markingRM15RM15 Mini-circle marking. one view of dark grey road surface with green ground all round it, with a mark in white, yellow and black.
Source: Manual Part 2, Sec 7.1 (Regulatory Markings, pp.50-53).
Warning road markings (Sec 7.2)
Warning road markings (Manual Part 2, Sec 7.2, pp.53-54) alert you to a hazard or a change ahead: the same function warning signs perform, but painted on the road itself.
- Railway crossing ahead (WM1): between the warning sign and the crossing itself; slow down and stop if necessary before the crossing. - Continuity lines (WM2): warns of a break (an intersection or off-ramp) in the lane you're travelling in; that lane will soon turn off the road, and continuity lines soon change into a channelizing line or painted island where changing direction becomes illegal, so yield to anyone changing lanes and check your blind spot for vehicles that may cut in. - Dividing lines (WM3): on two-way roads; warns that vehicles beyond the marking are travelling towards you; watch for any that drift onto your side. - Reversible lane lines (WM4): warns that the marked lane can carry traffic from the opposite direction at different times of day or night; watch for oncoming vehicles. - Yield control ahead (WM5): before an intersection; warns a yield sign lies ahead; slow down if other traffic is approaching, and stop if you need to. - Lane reduction arrows (WM6.1 left, WM6.2 both sides, WM6.3 right): on a multi-lane road; warns that lanes are ending from the side(s) shown; change lanes in good time and check both blind spots where lanes end on both sides at once. - Mandatory direction arrow ahead (WM7): in a traffic lane, mainly in urban areas; warns you'll be obliged to follow a specific direction at the next intersection, so choose your lane in good time. - No overtaking or no crossing line ahead (WM8): warns a no-overtaking or no-crossing line is coming up; don't cross the prohibition line once it starts, and if you're on the right-hand side overtaking, move back left before it begins. - Arrestor bed ahead (WM9): on rural, often mountainous, roads; tells drivers (especially of heavy vehicles) with failed brakes where they can leave the road safely into a gravel arrestor bed; only drive into it if your brakes actually fail. - Speed hump (WM10): mainly urban; warns of a speed hump ahead; slow down and release your brake before driving over it.
- Continuity lines (WM2) warn that your lane will soon turn off the road: yield to any traffic changing lanes as the lane ends.
- WM8 (no overtaking/no crossing line ahead) warns of the prohibition line itself (RM1/RM2) that follows: move back into your own lane before it starts if you're overtaking.
- WM9 (arrestor bed ahead) is only ever driven into if your brakes genuinely fail: it is not a general escape lane.
- Reversible lane lines (WM4) mark a lane that can carry opposing traffic at different times of day, not a permanent one-direction lane.

Railway crossing markingWM1WM1 Railway crossing marking. One view of dark grey road surface with green ground along the left side. 2 separate marks in white and black over about a sixteenth of the road surface, set to the left of centre. It is not the same left and right: the ink with no mirror on the other side lies to the left. Easy to get wrong. A yield sign ahead has its own warning marking. This one is the railway crossing marking.
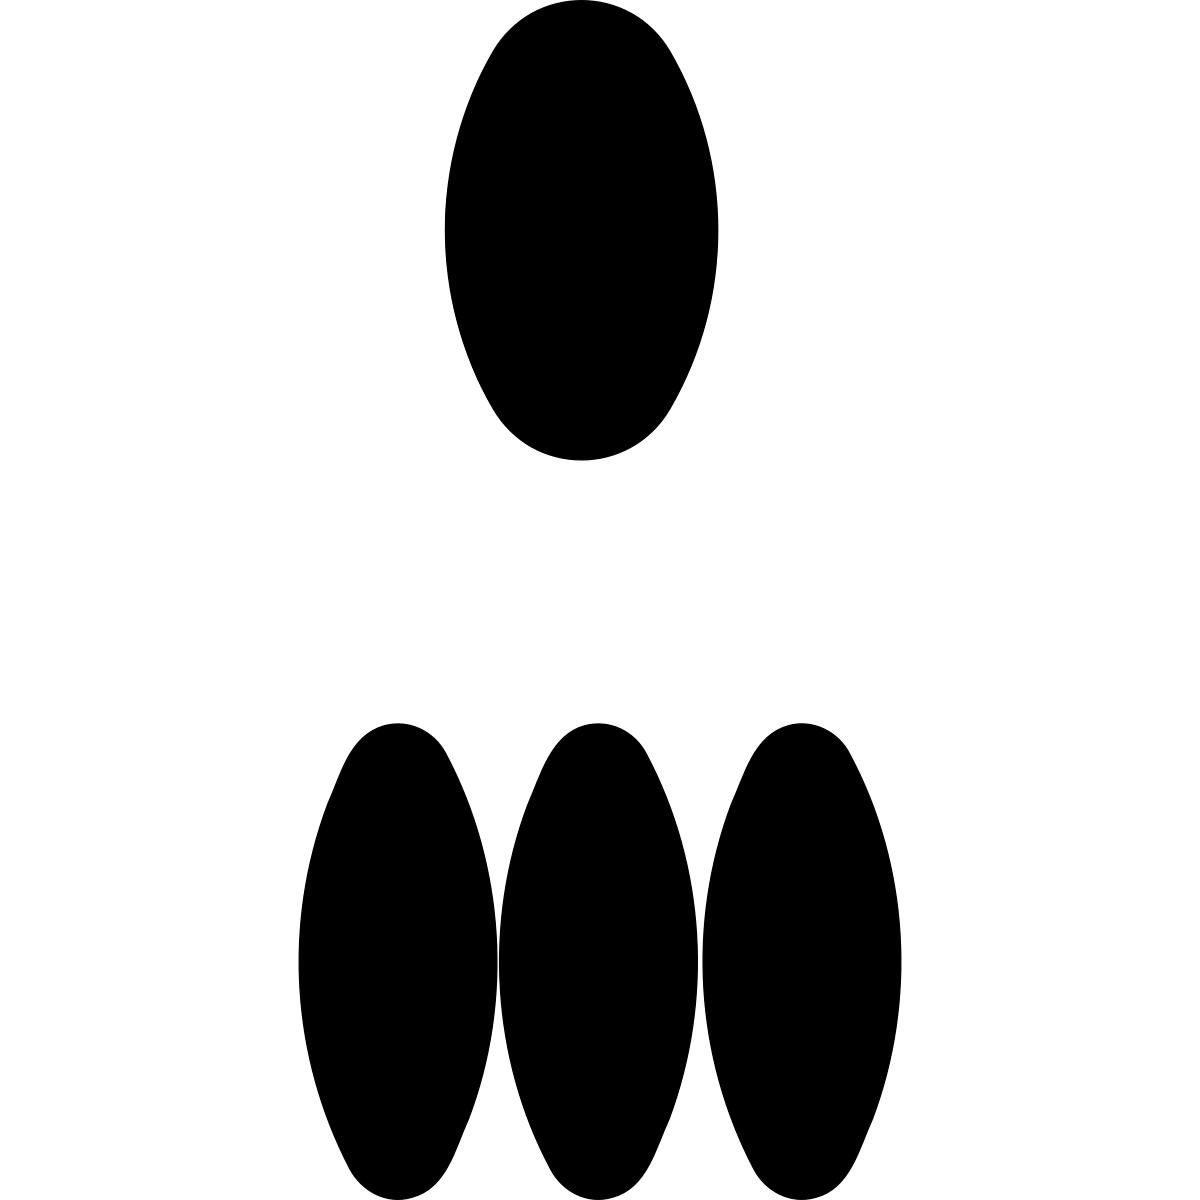
Continuity line markingWM2WM2 Continuity line marking. four views of dark grey road surface with green ground along the left side, with a mark in white, red and black, toward the right of the road surface. A mirrored version of this sign exists with the mark on the other side. 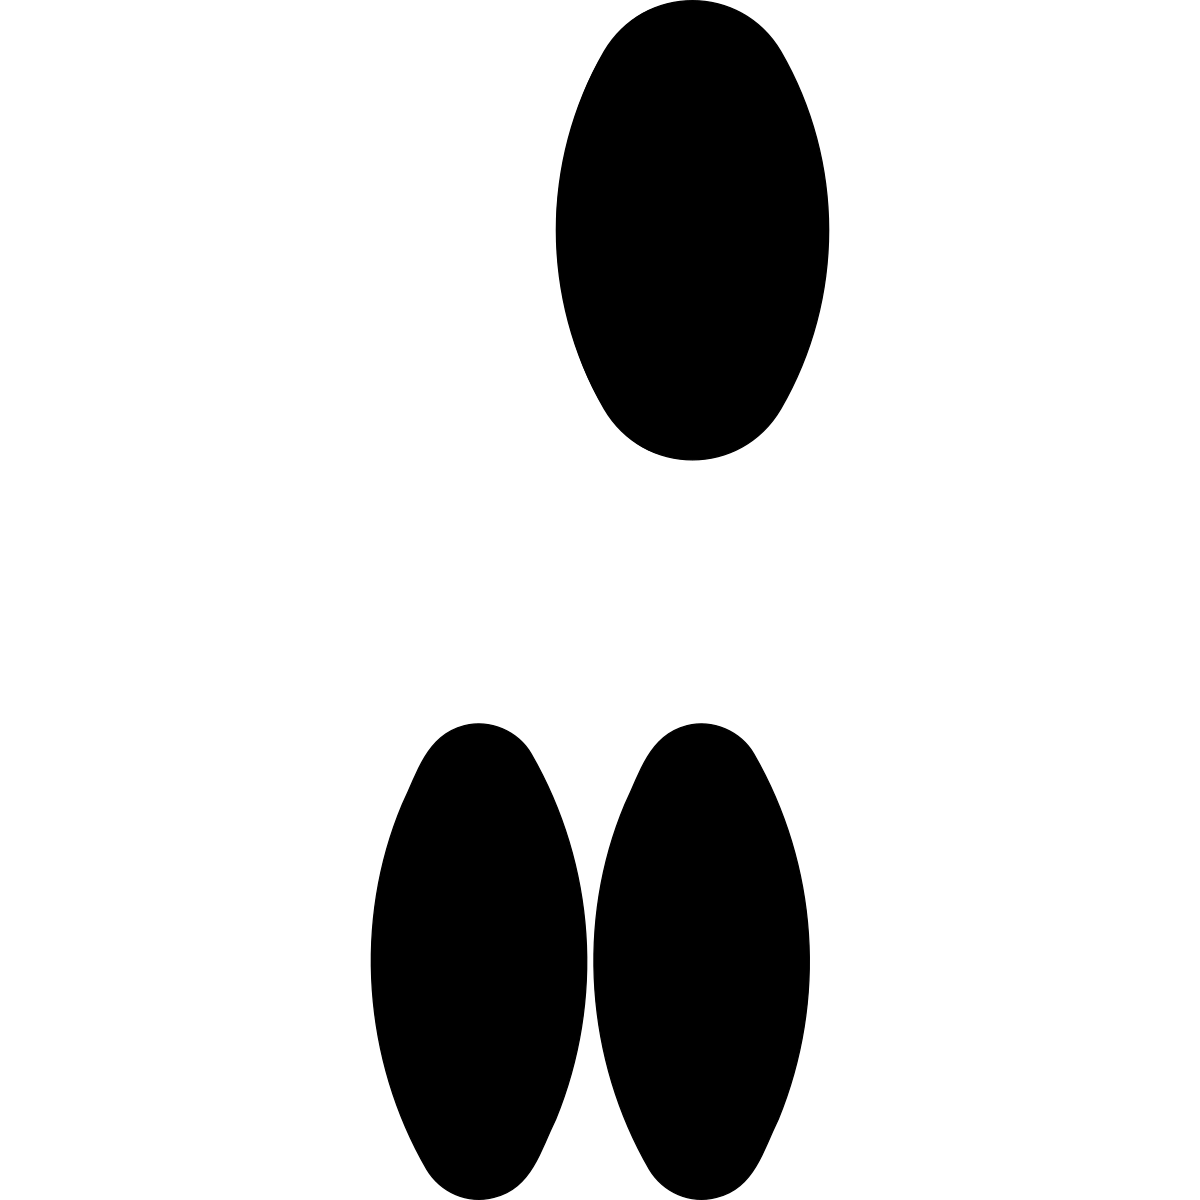
Dividing line markingWM3WM3 Dividing line marking. three views of dark grey road surface with green ground along the top, with a mark in white, yellow and black, high on the road surface, toward the right. A mirrored version of this sign exists with the mark on the other side. 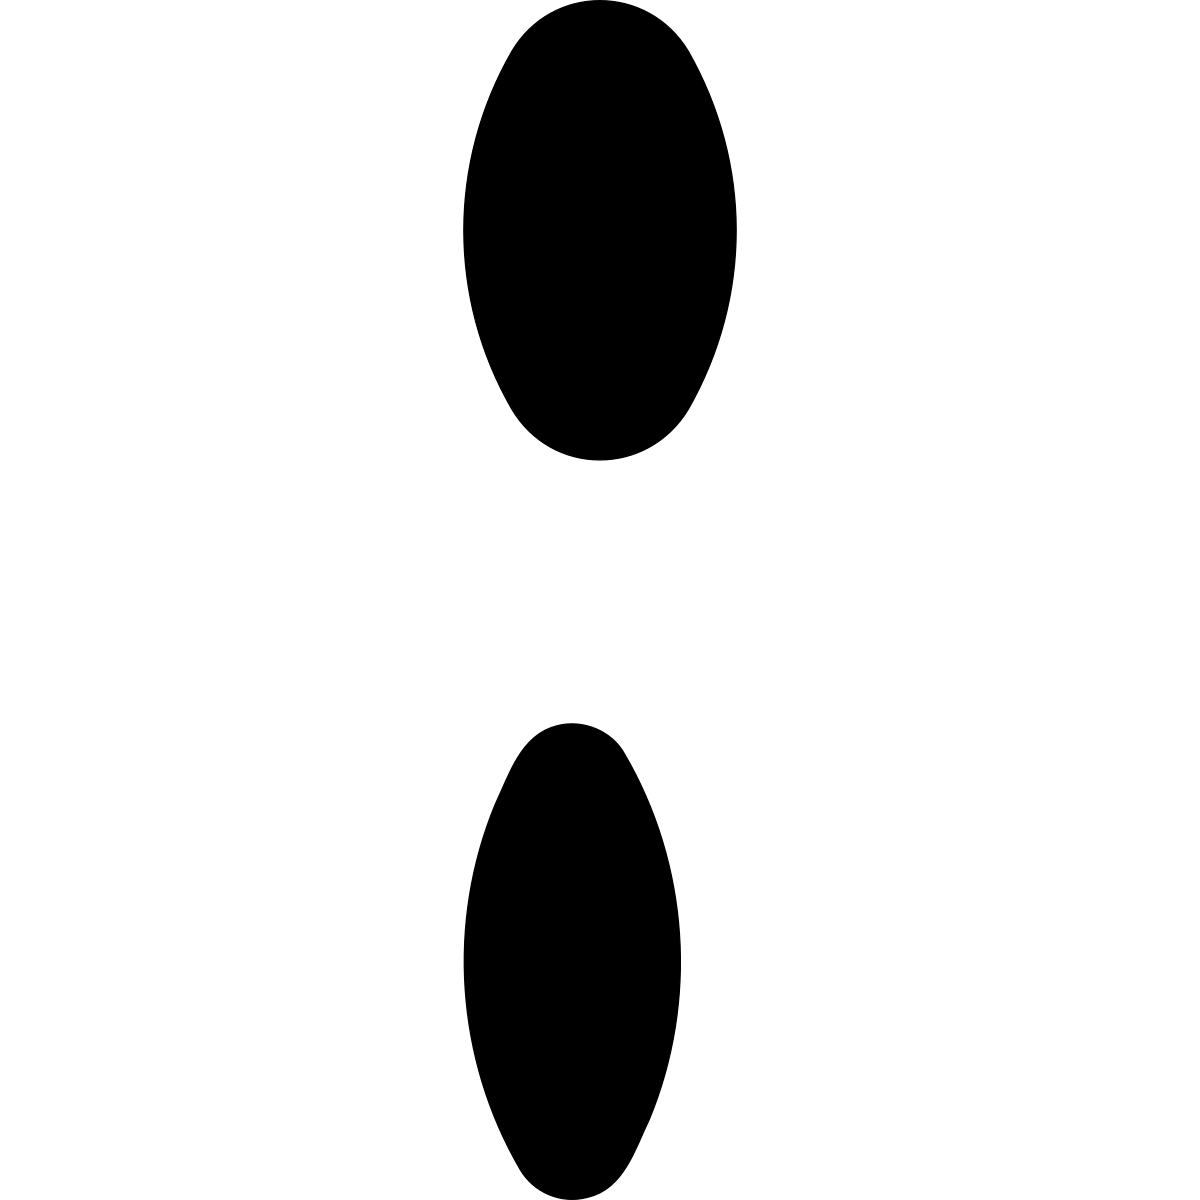
Reversible lane line markingWM4WM4 Reversible lane line marking. two views of dark grey road surface with green ground along the left side, with a mark in white, yellow and black, low on the road surface, toward the right. A mirrored version of this sign exists with the mark on the other side. 
Yield sign ahead markingWM5WM5 Yield sign ahead marking. one view of dark grey road surface with green ground along the left side, with a mark in white and black, toward the right of the road surface. A mirrored version of this sign exists with the mark on the other side. Easy to get wrong. Traffic lights ahead are warned by a different sign. This marking is about a yield sign.
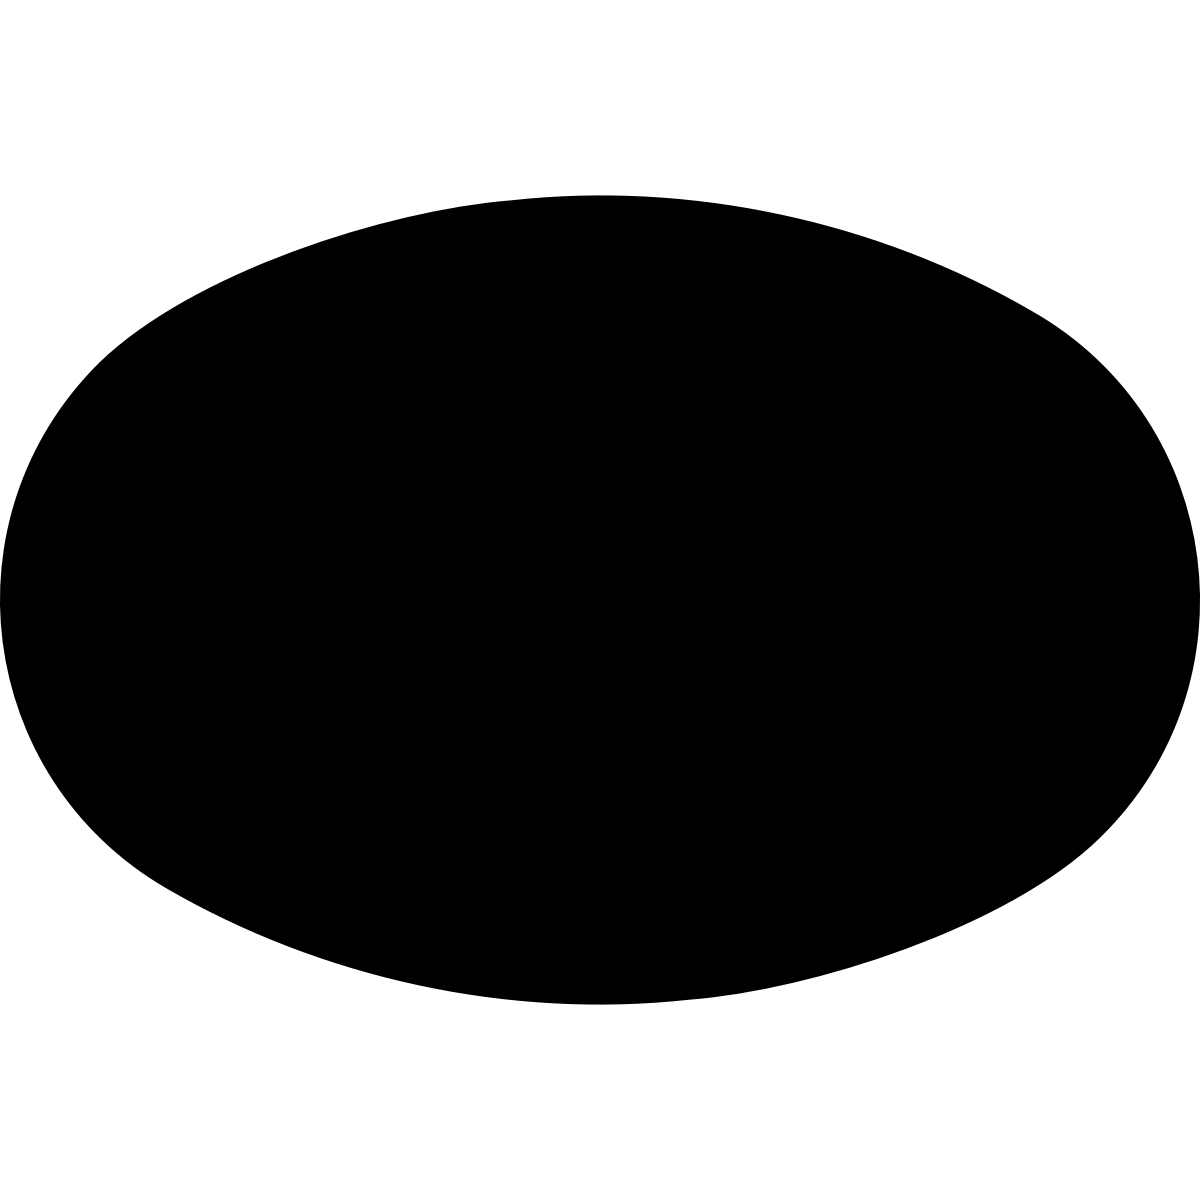
Mandatory direction arrow ahead markingWM7WM7 Mandatory direction arrow ahead marking. one view of dark grey road surface, with a mark in white, toward the right of the road surface. A mirrored version of this sign exists with the mark on the other side. 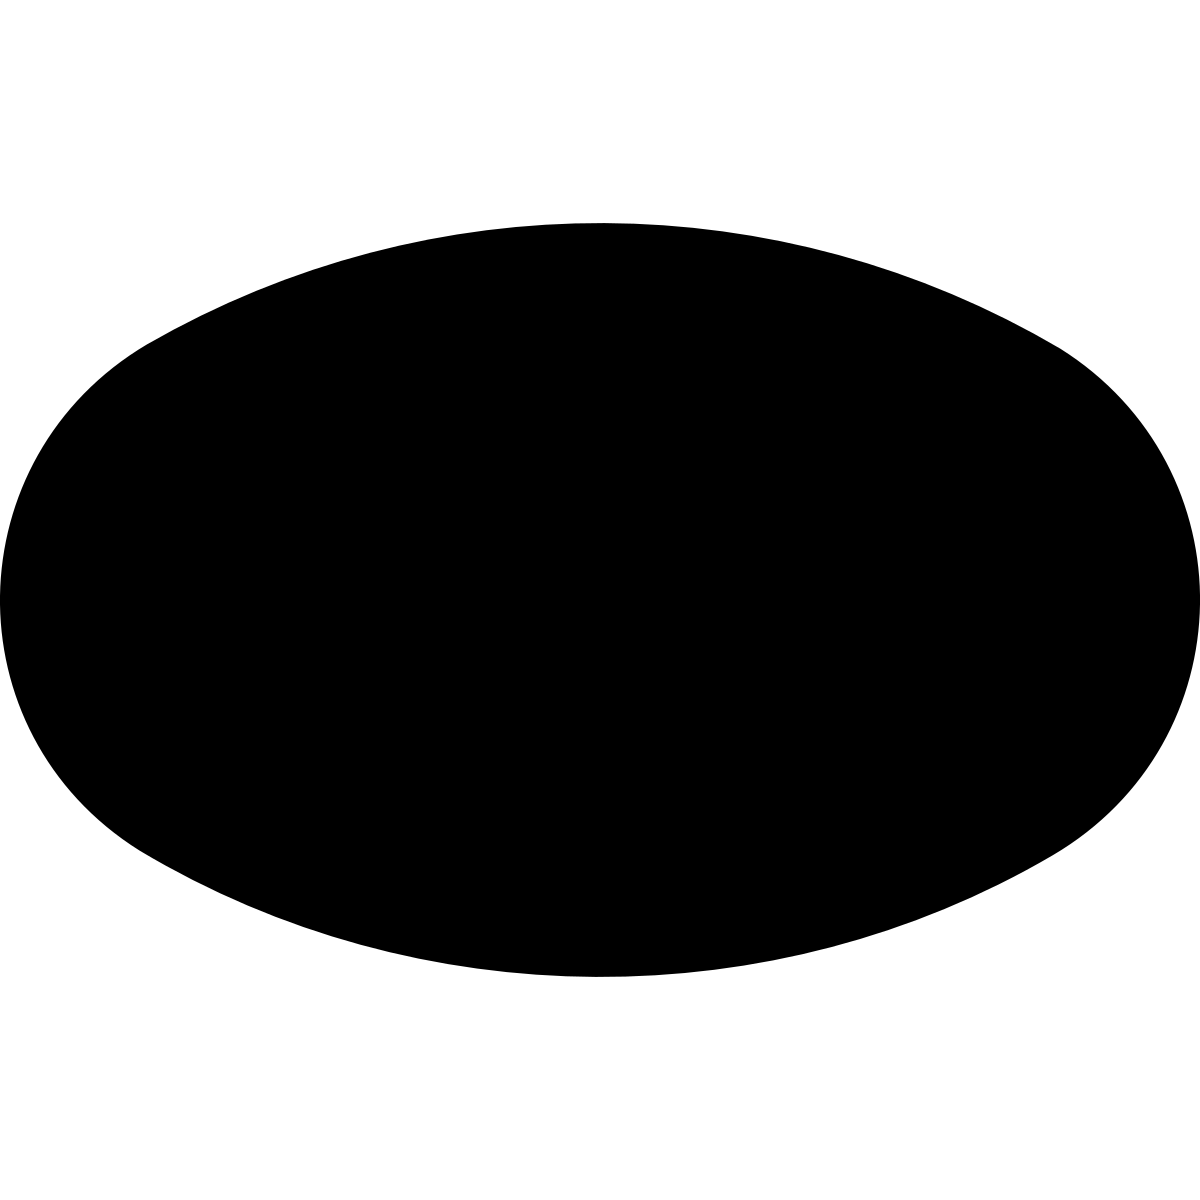
No overtaking or no crossing line ahead markingWM8WM8 No overtaking or no crossing line ahead marking. one view of dark grey road surface, with a mark in white and black, toward the right of the road surface. A mirrored version of this sign exists with the mark on the other side.
Source: Manual Part 2, Sec 7.2 (Warning Markings, pp.53-54).
Guidance road markings (Sec 7.3)
Guidance road markings (Manual Part 2, Sec 7.3, pp.55-56) help you navigate using paint on the road rather than a roadside sign.
- Lane lines (GM1): show you're in a lane shared with traffic travelling the same direction; drive in the centre of your marked lane. - Guide lines (GM2): inside an intersection; show the correct path to follow through it; turn according to the markings. - Bifurcation arrows (GM3): warn of an increase in the number of lanes ahead; don't straddle the lane markings as the road widens. - Information arrows (GM4.1, GM4.2): on one-way streets or complex wide intersections; show the direction you may drive in a lane or road; never drive against them unless a traffic officer specifically directs you to. - Bicycle crossing lines (GM5): mainly urban; mark where cyclists cross the road; watch for cyclists crossing or about to cross. - Road marking symbols (GM6.1-GM6.3): additional symbols alongside standard signs/markings (e.g. at a cycle lane, a road leading to an airport, or a bay reserved for disabled parking); don't use a road or marked area reserved for a group you're not part of. - Word markings (GM7): words painted on the road giving extra information; read the message and act on the danger or instruction it points to.
- Information arrows (GM4.1/4.2) may only be disobeyed on a traffic officer's specific direction, never on the driver's own judgement.
- Bifurcation arrows (GM3) warn of an increase in lanes ahead: don't straddle the markings as the extra lane appears.
- Road marking symbols (GM6) reserve part of the road for a specific group (e.g. disabled parking, an airport-bound lane): don't use it if you're not part of that group.
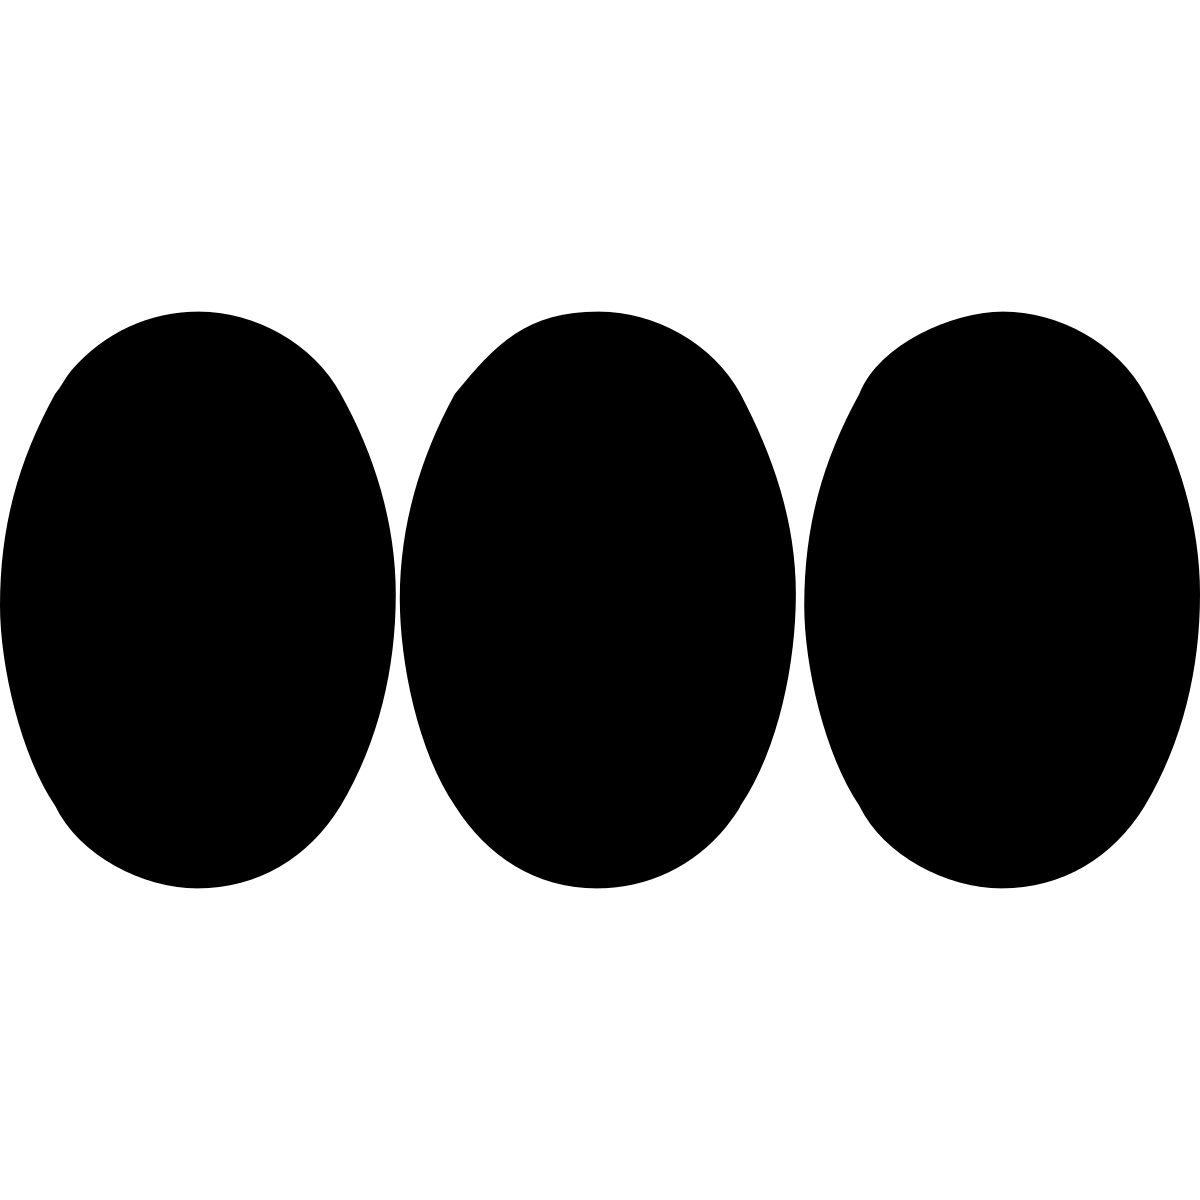
Lane line markingGM1GM1 Lane line marking. Three views of dark grey road surface. 21 separate marks in white and black over about a fortieth of the road surface, set to the right of centre and low on the road surface. It is not the same left and right: the ink with no mirror on the other side lies to the right. 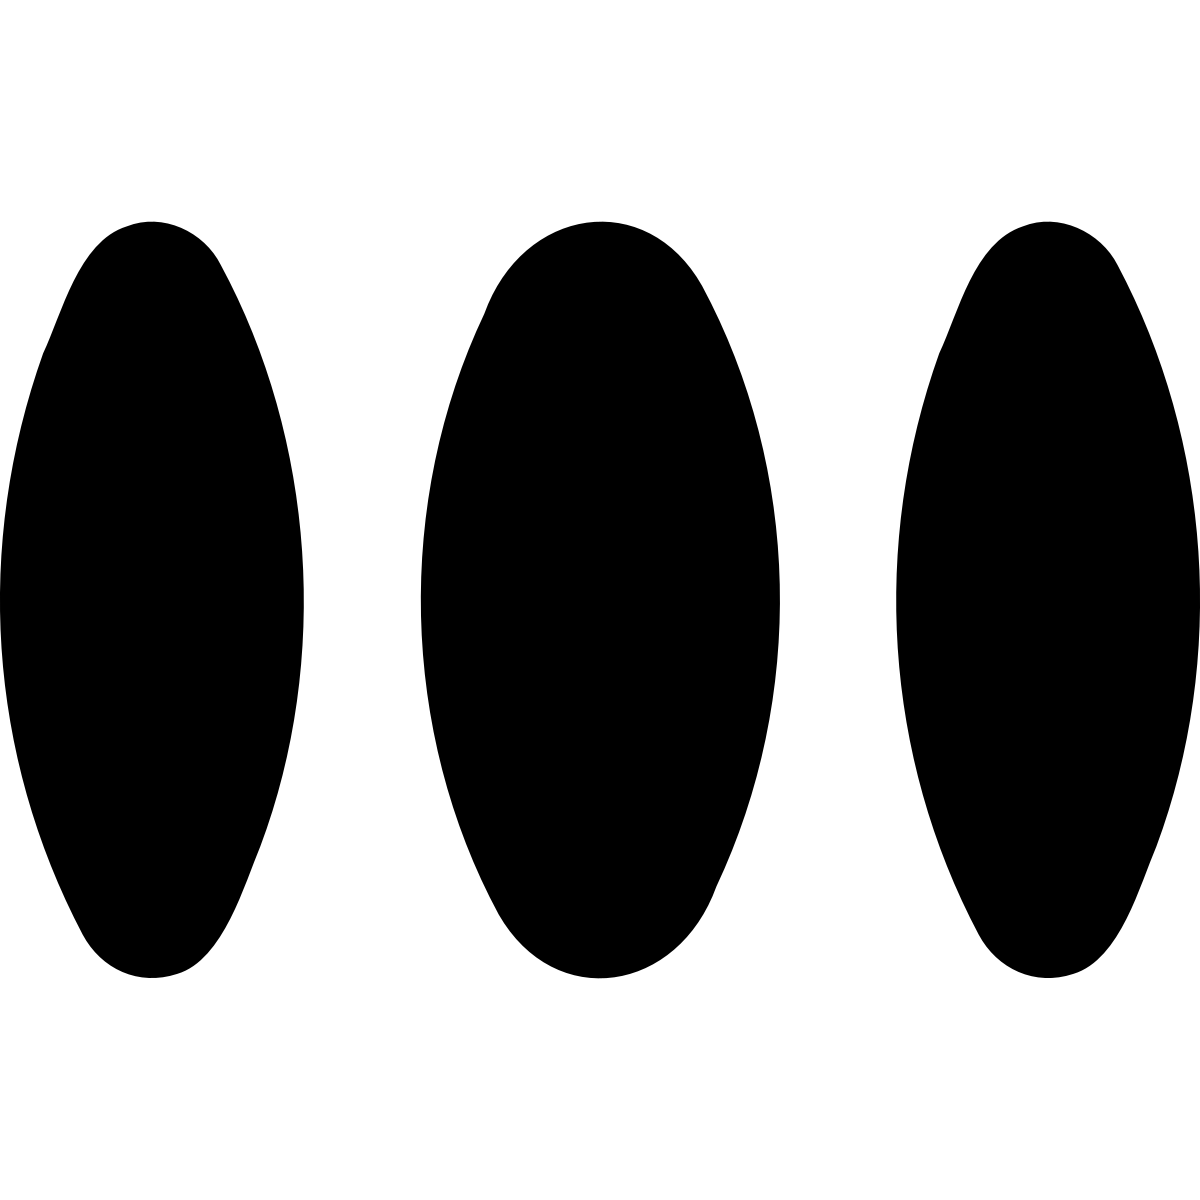
Furcation arrow markingGM3GM3 Furcation arrow marking. three views of dark grey road surface, with a mark in white, toward the left of the road surface. A mirrored version of this sign exists with the mark on the other side. 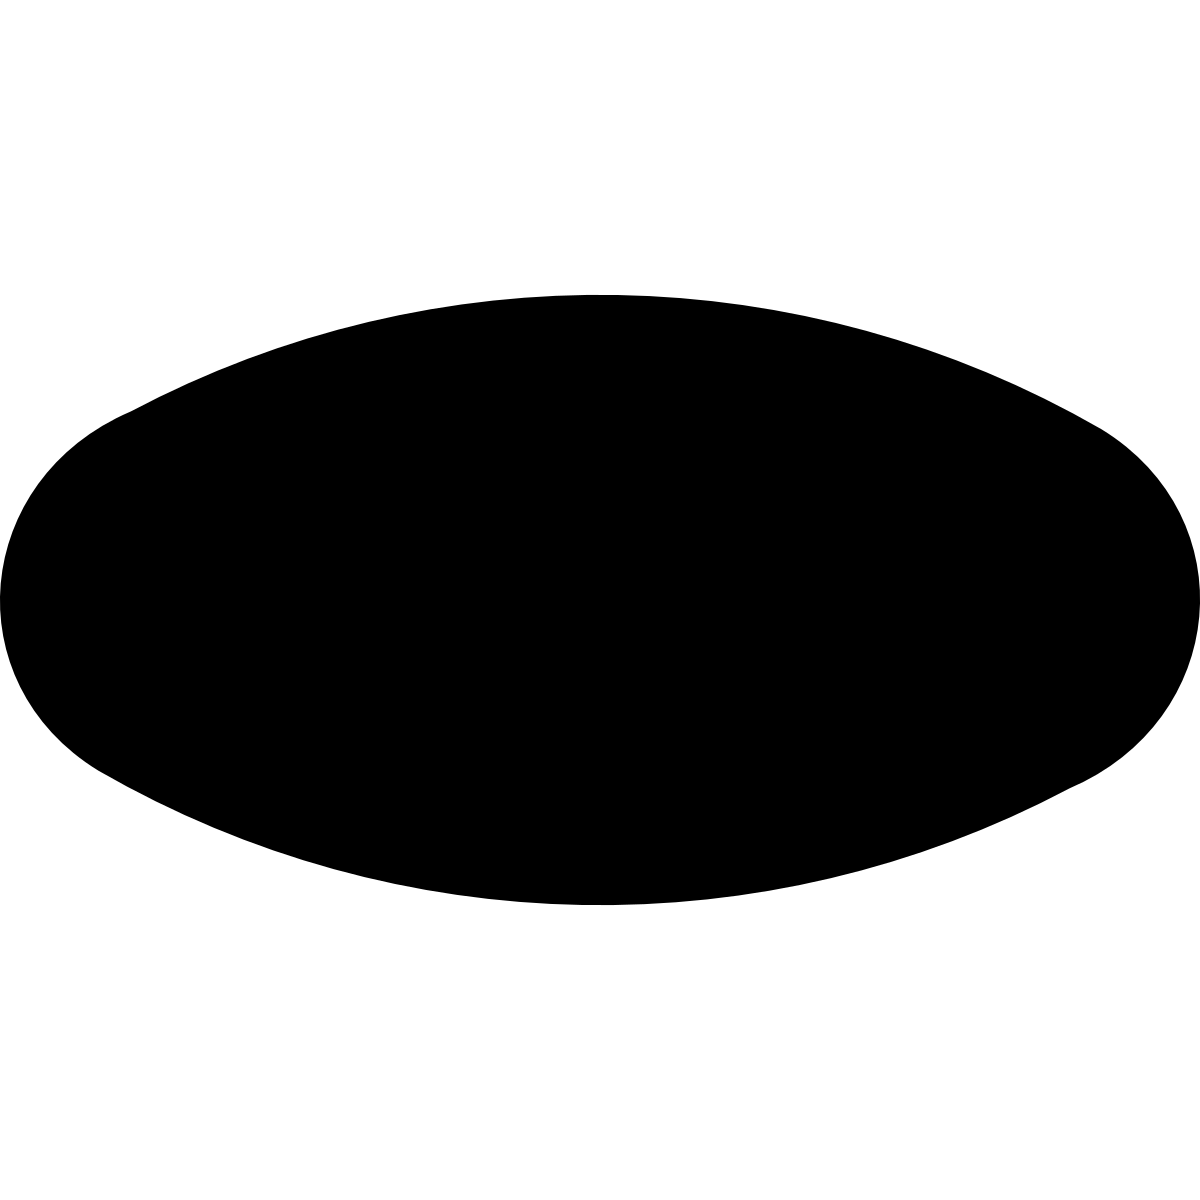
Bicycle crossing guidelines markingGM5GM5 Bicycle crossing guidelines marking. one view of dark grey road surface with green ground all round it, with a mark in white, toward the left of the road surface. A mirrored version of this sign exists with the mark on the other side.
Source: Manual Part 2, Sec 7.3 (Guidance Markings, pp.55-56).
How signs are tested in the K53 learners test
Road signs are their own section of the test, and it is the one with the highest bar: 28 of the 64 questions, of which you need 23 correct. That leaves you five wrong answers on signs, and no more.
It is marked separately from the other two sections, so a good score on rules and controls cannot rescue it. That is the single fact that catches people out: the three pass marks and how many you can get wrong works through all three.
Recognising a sign on this page is not the same as recognising it under time pressure among three plausible alternatives, which is how the question is actually put. The free K53 practice test is 20 questions, needs no signup, and marks you in the same three sections the real test does, so you can see whether signs are the section that would fail you.
Questions people ask about road markings signs
- What is a road marking?
- Road markings regulate, control and warn by defining the limits of the carriageway and the traffic lanes and by directing traffic in a particular direction.
- Are road markings regulatory, or just guidance?
- Both, depending on the marking. The manual divides them into regulatory, warning and guidance markings, and it is an offence to disregard a regulatory one exactly as it is to disregard a regulatory sign. The three groups are the first three sections of this page.
- Does a stop line count if there is no stop sign?
- Yes. A stop line and a yield line have their full effect even where no sign is posted, so a stop line on its own means what a stop sign means. That is stated in the manual at section 7.1, and it is one of the things a learners test question can turn on.
- How many road sign questions are in the K53 learners test?
- 28 of the 64, and you need 23 of them correct. Signs and markings are marked as their own section with their own pass mark, so clearing it does not help you if you miss one of the other two. Government Notice R.93 of 2006, Government Gazette 28446, section 5.4.
- Are these all the road markings?
- No, and we do not claim they are. We have not read a published total for this group, so unlike the regulatory signs page this one does not state a denominator at all. The count of what is here is above the first drawing.
Where every fact on this page comes from
Each claim, its source, and how strongly we can stand behind it.
Road markings regulate, control and warn by defining the limits of the carriageway and the traffic lanes and by directing traffic in a particular direction.
Manual on Road Traffic Signs, Department of Transport learner manual Part 2, version 1.00, June 2012, section 1, page 3, read directly
OFFICIAL MANUAL
It is an offence to disregard a regulatory road marking, as it is to disregard a regulatory sign.
Manual on Road Traffic Signs, Part 2, section 1, pages 2 and 3, read directly
OFFICIAL MANUAL
A stop line and a yield line carry their full effect even where no sign is posted.
Manual on Road Traffic Signs, Part 2, section 7.1, pages 49 to 50, read directly
OFFICIAL MANUAL
Which markings are regulatory, which are warning and which are guidance, and what each one does.
Manual on Road Traffic Signs, Part 2, sections 7.1 to 7.3, pages 49 to 56, read directly. Each section on this page prints the pages it comes from.
OFFICIAL MANUAL
Road signs and markings are one of three separately marked sections of the learner's licence test, and how many questions each section carries and how many must be correct.
Government Notice R.93 of 2006, Government Gazette 28446, section 5.4, read directly
GAZETTED
The drawings and the descriptions on this page.
Drawn for PassPath from the designs prescribed in Schedule 1 of the National Road Traffic Regulations and set out in the SA Road Traffic Signs Manual. They are our own artwork, not scans, and each one is named from the manual's own legend.
PASSPATH
How many markings are examinable, and which ones.
The list the learner's test draws from is not published, and we have read no published total of marking codes either. This page shows the markings a Code 2 learner meets in the PassPath course and claims nothing beyond that.
NOT PUBLISHED
- OFFICIAL MANUAL
- : From the Department of Transport's own learner manuals, the material the state tells you to study. We read them directly.
- GAZETTED
- : We read the government notice or regulation itself.
- PASSPATH
- : A description of our own software.
- NOT PUBLISHED
- : This is not published, so we say so instead of guessing.
The drawings on this page, the descriptions beside them and the way they are selected and arranged are PassPath's own work. The signs themselves are prescribed in the road traffic signs manual and belong to nobody. If you would like to use our drawings or our descriptions, please ask us first.
Test format based on official statements as at 4 September 2026. These pages cover the K53 learner's licence test for Code 2, a light motor vehicle. PassPath is an independent study tool: it is not affiliated with, endorsed by or accredited by the RTMC, the Department of Transport, or any driving licence testing centre.